
Why Cheap Caulk Jobs Fail and What to Do Instead

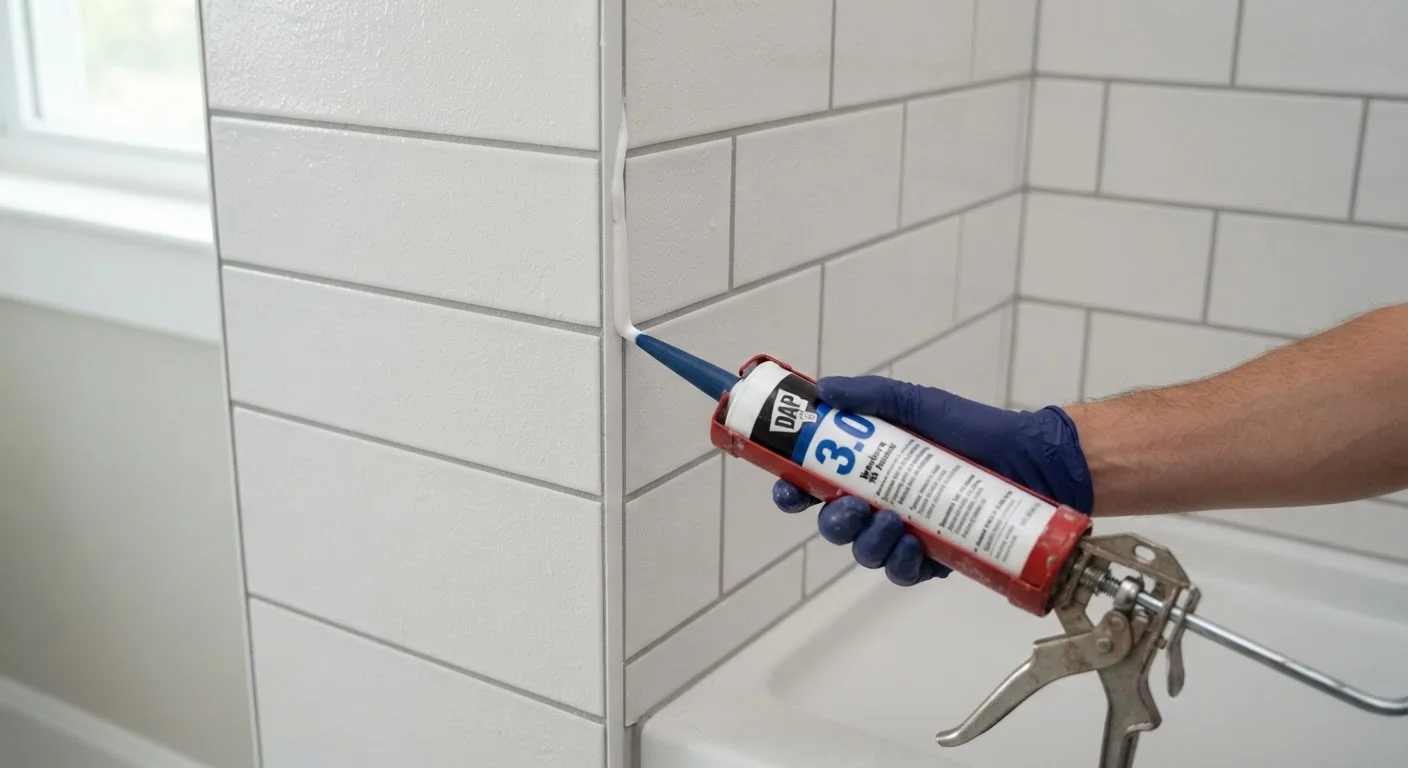
Photo: everyday-trends.com editorial
Key Takeaways
- Surface prep matters more than product choice: moisture and residue cause most caulk failures.
- Using the wrong caulk type for the location is a leading cause of cracking and mold growth.
- Tooling the bead immediately after application determines whether the seal actually holds.
- Skipping a dry cure period before exposing caulk to water or movement causes early separation.
- Removing old caulk completely, not just covering it, is required for a lasting repair.
Why caulk fails faster than it should
Caulk is one of the least expensive materials in any home maintenance kit, yet a failed caulk joint can let water into walls, grow mold behind tiles, or require a full bathroom restrip within a year. The cost is rarely the caulk itself. It is the preparation skipped, the product mismatched to the location, or the cure time ignored that turns a two-hour job into a recurring problem.
Understanding where the process breaks down lets you get a durable result the first time, without buying premium products that can not compensate for application errors.
Applying new caulk over old caulk without removing the original material.
Skipping surface drying time before application, especially in bathrooms.
Using interior paintable caulk in wet areas such as tubs, showers, and sinks.
Cutting the nozzle too wide, producing an oversized bead that does not seat properly.
Exposing the joint to water or movement before the caulk has fully cured.
Skipping a backer rod in wide gaps before caulking.
How to get a caulk job that actually lasts
Once you understand the failure points, the correction is straightforward. Work in a well-ventilated space and read the product label before you open the tube: temperature and humidity windows for application are printed there and are worth following.
Cut the nozzle at a shallow angle, roughly 45 degrees, and keep the opening small. A bead wider than the gap forces you to smooth more material, which creates air pockets. Pull the gun steadily rather than pushing it, letting the nozzle lead the bead. Tool the joint with a dampened finger or a plastic smoothing tool within 60 seconds of application, pressing firmly to seat the caulk against both surfaces.
After tooling, resist the urge to check the joint by pressing on it. Let it skin undisturbed. Most silicone caulks used in wet areas need 24 hours before water exposure; some need 48. Check the label rather than guessing.
The same attention to surface prep that makes caulk last also applies to paint adhesion. The interior wall painting preparation checklist covers surface cleaning and priming steps that overlap with proper caulk prep, particularly around windows and trim.
Old caulk conceals moisture damage
The content provided on our blog site traverses numerous categories, offering readers valuable and practical information. Readers can use the editorial team’s research and data to gain more insights into their topics of interest. However, they are requested not to treat the articles as conclusive. The website team cannot be held responsible for differences in data or inaccuracies found across other platforms. Please also note that the site might also miss out on various schemes and offers available that the readers may find more beneficial than the ones we cover.