
Painting Interior Walls: A Room-by-Room Preparation Checklist

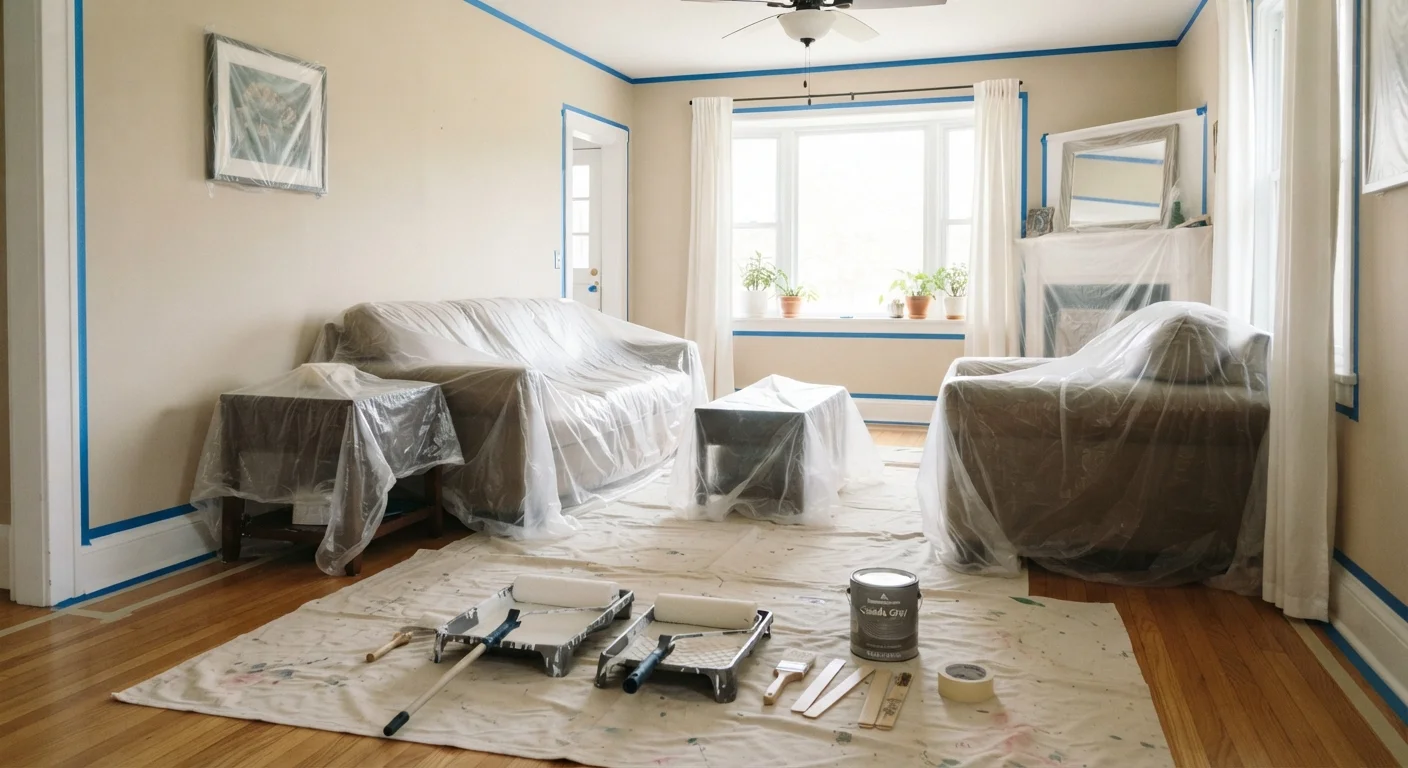
Photo: everyday-trends.com editorial
Key Takeaways
- Surface prep, not paint quality, is the most common reason DIY paint jobs look uneven or peel early.
- Each room type has specific prep needs based on moisture, traffic, and surface material.
- Gathering all tools before you start prevents mid-job trips to the store that disrupt drying time.
- Skipping primer on patched or stained walls will show through even multiple topcoats.
- Proper ventilation matters for both finish quality and your health during and after painting.
Why prep work determines the final result
Most visible problems in a finished paint job, including lap marks, peeling edges, and uneven sheen, trace back to skipped preparation rather than poor application. Paint adheres to clean, dry, and stable surfaces. When dust, grease, or old loose paint sits underneath a fresh coat, that coat has nothing solid to bond with.
Preparation time varies by room. A small bedroom with sound drywall might take 45 minutes to prep. A kitchen with grease buildup or a bathroom with old caulk failures can take two hours or more. Working through this checklist room by room before you open a single can of paint will save you from redoing sections later.
Painter's tape
Masks trim, ceilings, and adjacent surfaces to produce clean paint edges without freehand cutting.
Drop cloths
Protects flooring and furniture from drips and spills during prep and painting.
Spackle or joint compound
Fills nail holes, cracks, and surface damage before sanding and priming.
Sandpaper (80-grit and 120-grit)
Smooths patched areas and scuffs glossy surfaces so paint adheres properly.
Tack cloth or damp sponge
Removes sanding dust from surfaces immediately before priming or painting.
Primer
Seals patches, stains, and bare surfaces so topcoat color appears even and adheres durably.
Degreaser solution
Cuts cooking grease from kitchen walls where standard detergent is not strong enough.
Caulk and caulk gun
Seals gaps between walls and trim or baseboards before painting to prevent paint bleed and air infiltration.
Room-by-room preparation checklist
Work through each group below before moving to the next. Items marked must are non-negotiable for a durable finish. Items marked should are strongly recommended and often affect how professional the result looks. Items marked nice to have are worth doing when time and budget allow.
Gather tools and materials
Clear and protect the room
Clean wall surfaces
Repair surfaces
Prime where needed
Tape and mask edges
This checklist covers general interior painting preparation. For walls adjacent to electrical panels, gas lines, or load-bearing structures, consult a licensed professional before disturbing surfaces. Always verify local permit requirements for any renovation work.
Room-specific considerations
Kitchens
Grease accumulates on kitchen walls even when they look clean. Wash all surfaces with a degreasing solution before any other prep step. Skip this and paint will bead or peel within months near the stove and above counters.
Bathrooms
Moisture is the main problem in bathrooms. Check caulk lines around the tub, shower, and vanity for cracks or mold before painting. Re-caulk any failed areas and let them cure fully, typically 24 hours, before priming. Use a mold-resistant primer regardless of whether you can see mold.
Living rooms and bedrooms
These rooms are generally the most straightforward. The main prep concern is filling nail holes and dings from furniture or picture hooks. Sand patches flush with the surrounding surface, then spot-prime them. Unpainted patches absorb topcoat differently than the surrounding wall and will show as dull spots.
Hallways and high-traffic areas
Walls in hallways collect scuffs and body oils at shoulder height. Clean these areas with a mild detergent solution and let them dry completely before taping or priming. Check baseboards and door casings for gaps that need caulking, since these areas take more mechanical stress than other rooms.
Old homes and lead paint risk
The content provided on our blog site traverses numerous categories, offering readers valuable and practical information. Readers can use the editorial team’s research and data to gain more insights into their topics of interest. However, they are requested not to treat the articles as conclusive. The website team cannot be held responsible for differences in data or inaccuracies found across other platforms. Please also note that the site might also miss out on various schemes and offers available that the readers may find more beneficial than the ones we cover.