
Setting Up a Home Wi-Fi Network Without Calling a Technician

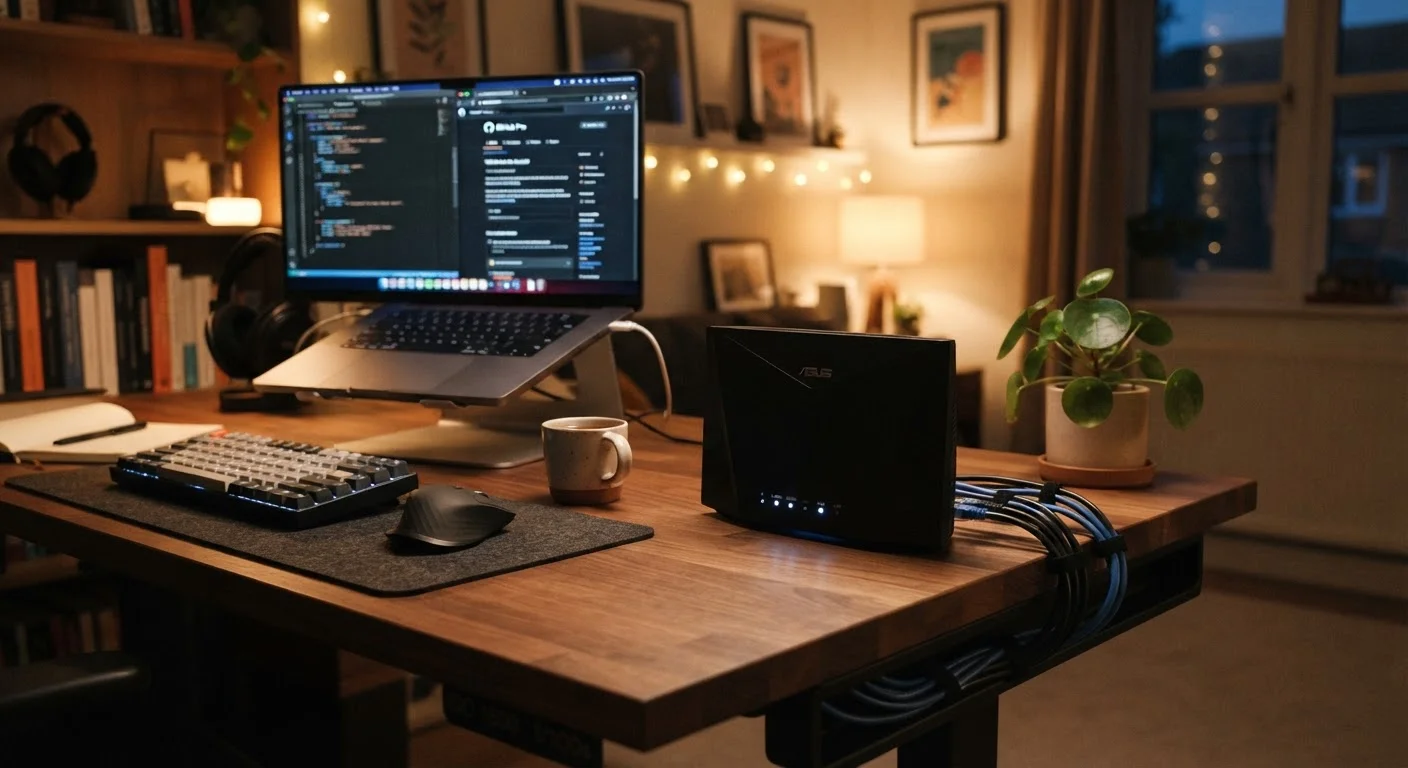
Photo: everyday-trends.com editorial
Key Takeaways
- Router placement near the center of your home improves signal coverage significantly.
- Changing default login credentials is the single most important security step after setup.
- WPA3 or WPA2 encryption should be enabled on every home network.
- Most ISP-provided modems can connect directly to a consumer router without extra hardware.
- A 5 GHz band offers faster speeds at short range; 2.4 GHz reaches farther through walls.
What you need before you start
Setting up a home Wi-Fi network yourself is straightforward when you have the right equipment and a clear picture of what each piece does. Most households need two core devices: a modem and a router. Some ISPs supply a combined unit called a gateway, which handles both functions. If you already have a gateway from your provider, you may be able to skip a separate router entirely, though a standalone router generally gives you more control over your network settings.
What you will need
Wireless router
The central device that broadcasts your Wi-Fi signal throughout your home.
Modem (or modem-router combo)
Connects your home network to your internet service provider's line.
Ethernet cable (Cat5e or higher)
Used to connect the modem to the router and optionally a laptop for initial setup.
Laptop or desktop computer
Used to access the router's admin interface during configuration.
Smartphone or tablet
Some router manufacturers provide an app that simplifies the setup process.
How to configure your network
The steps below cover a standard setup for a single-router home network. The process takes 30 to 60 minutes for most people. Apartment dwellers and those in smaller homes will generally finish closer to the lower end of that range.
Change default passwords immediately
Choose the right location for your router
Place the router as close to the center of your living space as the cable run allows. Signals radiate outward in all directions, so a central position reduces dead zones at the edges of your home. Avoid corners, basements, and spots directly behind large appliances or thick concrete walls.
Elevate the router off the floor: a shelf or desk at mid-room height gives better horizontal coverage than ground level. Keep it away from microwave ovens and cordless phone bases, which operate on overlapping frequencies and can cause interference.
Connect the hardware
Power off your modem before making any connections. Run an ethernet cable from the modem's output port to the WAN (sometimes labeled "Internet") port on your router. These ports are usually color-coded or clearly labeled. Power the modem on first, wait about 60 seconds for it to sync with your ISP's line, then plug in the router.
The router's indicator lights will cycle through startup states. Most devices show a steady or slowly blinking light when the internet connection is established. Consult your router's quick-start card if the lights stay red or amber after two minutes.
Access the router's admin interface
Connect a laptop to the router using an ethernet cable. Open a web browser and type the router's default gateway address into the address bar, typically 192.168.1.1 or 192.168.0.1. Both the address and default login credentials are printed on the router's label.
Some manufacturers now route initial setup through a mobile app instead of a browser interface. Either method reaches the same configuration options. Log in with the default credentials to proceed.
Set your network name and password
In the wireless settings section, change the network name (called an SSID) to something that does not identify you or your address. Avoid names like "Smith_Home" or your apartment number. A non-identifying name gives no useful information to anyone scanning for networks nearby.
Set a strong Wi-Fi password: at least 12 characters mixing letters, numbers, and symbols. If your router supports separate 2.4 GHz and 5 GHz bands, give each a distinct name so you can manually select the band on your devices when needed. The 5 GHz band is faster at close range; 2.4 GHz travels farther through walls.
Enable encryption and change admin credentials
In the security settings, select WPA3 if your router supports it. If not, WPA2-AES is acceptable for most home networks. Avoid WEP or TKIP, which are outdated and easily broken.
Navigate to the admin or management section and change the default router admin username and password to something unique. This password is separate from your Wi-Fi password and controls access to all router settings. A weak admin password is the most common way home routers get compromised.
Test connectivity and connect your devices
Disconnect the ethernet cable from your laptop and connect to your newly named Wi-Fi network. Open a browser and load a few pages to confirm the connection is working. Then walk to the far corners of your home to check signal strength. If a room has a consistently weak signal, repositioning the router by even a few feet can sometimes resolve it.
Connect your other devices one at a time. Once the network is stable, you may want to explore additional devices that work over Wi-Fi, such as those covered in our beginner's guide to smart home devices.
Keeping your network secure after setup
Once your network is running, a small amount of ongoing attention keeps it secure. Router manufacturers release firmware updates that patch security vulnerabilities. Log into your router's admin interface every few months to check for available updates, or enable automatic updates if your router supports that option.
If you have visitors who need Wi-Fi access regularly, most modern routers let you create a separate guest network. A guest network keeps visitors on an isolated segment that cannot reach your main devices, such as computers, printers, or smart home hardware.
Use a wired connection for the first login
Disable remote management if it appears in your router's settings and you do not specifically need it. Remote management lets someone access your router's admin panel from outside your home network, which is a security exposure for the vast majority of households that never use the feature.
The content provided on our blog site traverses numerous categories, offering readers valuable and practical information. Readers can use the editorial team’s research and data to gain more insights into their topics of interest. However, they are requested not to treat the articles as conclusive. The website team cannot be held responsible for differences in data or inaccuracies found across other platforms. Please also note that the site might also miss out on various schemes and offers available that the readers may find more beneficial than the ones we cover.